Troubleshooting guide › Specialised welding › Bandsaw blade welding
A bandsaw blade weld is a flash butt weld: the ends flash, the upset forges them together, the joint is annealed to take the hardness out, and the bead is ground flush. A joint that breaks on the saw failed at one of those four stages, and the break tells you which. This page covers carbon and bimetal blades from 6 to 75 mm wide on bench and trolley butt welders.
Reviewed by the Cruxweld technical team, October 2026. Settings are starting points to confirm on a test piece; acceptance is decided by the code or drawing the job is built to. Checks marked “call” are for our technical team.
| Where it breaks / what it looks like | Stage that failed | Fix |
|---|---|---|
| Clean break through the weld line, grey crystalline face | Welding: not enough flash (step too low) or upset too early or too weak | Raise the welding step one; let the ends flash fully before a quick, firm upset |
| Break next to the weld, hard and glassy, cracks when flexed | Annealing: not annealed, or over-annealed to bright red and air-hardened again | Anneal in short pulses to dark brown only; if it went bright red, cool fully and re-anneal |
| Joint stepped, teeth out of pitch, blade runs off the wheels | Alignment: ends not square, blade slipped in the jaws, worn jaws | Cut ends square to the back; align against the stop with no overlap; tighten both clamps; replace grooved jaws |
| Joint thinner than the blade, breaks after a few hours | Grinding: bead ground below blade thickness, or blade blued by grinding heat | Grind only to blade thickness with light pressure, keep the blade moving, do not touch the teeth |
| Holes or burnt ends at the weld | Welding step too high or upset too slow | Lower the step; upset quickly |
| Burn marks on the blade at the jaws | Dirty jaws or blade, loose clamps | Clean jaws and blade; tighten clamps |
| Blade width | Blade thickness | Welding step |
|---|---|---|
| 7-13 mm | 0.4-0.65 mm | 1-2 |
| 13-20 mm | 0.6-0.9 mm | 2-3 |
| 20-27 mm | 0.9-1.0 mm | 3-4 |
| 27-41 mm | 0.9-1.3 mm | 4-5 |
| 41-52 mm | 1.3-1.6 mm | 5-6 |
Starting values; make a trial weld on an offcut of the same blade. Raise the step if the ends do not flash enough or the joint is weak; lower it if the ends burn away or holes form. The right step also moves with supply voltage and blade material, so bimetal and carbon blades of the same size may need different steps: trial-weld each type.
| What you see | Check yourself | If it persists |
|---|---|---|
| No power lamp | Supply; isolator; fuse | Call |
| No flash when WELD is pressed | Ends touching; jaws and ends clean; upset lever returned so the limit switch is not actuated | Limit switch or contactor: call |
| Joint turns bright red during annealing | Button held too long; use short pulses | Nothing: technique |
| Grinder does not run | Foot switch and cable | Motor: call |
| Transformer overheats | Duty cycle; ventilation openings clear | Call if hot at low duty |
| Higher step needed over time for the same blade | Jaws and conductive blocks dirty or worn; secondary connections loose | Clean, replace jaws, tighten |
Usually grinding: the joint was ground thinner than the blade, or blued by grinding heat, so it fatigues on the wheels. Grind to thickness only, cool, and check the joint with a micrometer against the blade.
Bimetal backs are alloy steel and need a correct anneal more than carbon blades do; a joint annealed too hot or quenched will crack. Trial-weld, anneal in short pulses to dark brown, and let it cool in air.
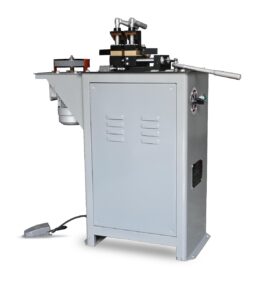 UltraFlex 520Specifications →
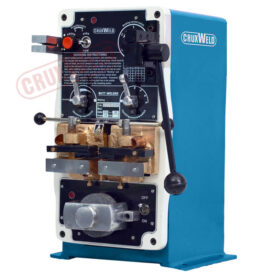 Bandsaw blade butt welderSpecifications →
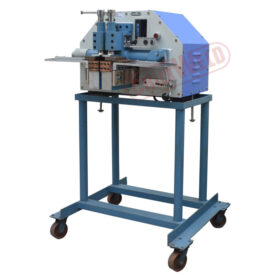 Bandsaw blade welding machineSpecifications →
Open your model for its specifications; the spares page lists the consumables for it.
If the machine runs but the weld or cut is wrong, the cause is usually settings, consumables or the material. Start here:
The welder gives a repeatable step (current), a spring upset and a pulse annealing circuit; the operator gives square ends, clean jaws and the right annealing colour. A machine that flashes but gives weak joints at every step with clean jaws needs its contactor and secondary connections checked.
Send a photo of the weld or cut, your machine model, consumable and plate thickness. Our technical team replies on WhatsApp with the likely causes and the next checks to make.
45+ years of welding expertise · GeM Registered OEM Manufacturer · Supported Worldwide