Troubleshooting guide › Specialised welding › Battery tab welding
A battery tab weld is two tiny spots made in a few milliseconds through a pre-pulse and a main pulse. The cell casing is thin steel, the strip is nickel, and the weld must hold without heating the cell. Almost every problem is one of four: the strip material, the tip condition, the pressure, or the current. This page is for pedal and pneumatic dual-pulse tab welders used on 18650, 21700 and prismatic cells.
Reviewed by the Cruxweld technical team, October 2026. Settings are starting points to confirm on a test piece; acceptance is decided by the code or drawing the job is built to. Checks marked “call” are for our technical team.
Current too low; tips dirty, pitted or not flat; pressure too low so the pre-pulse cannot clean the contact; strip oily or oxidised; tip gap wrong for the cell.
Current too high for the strip; pressure too low; foreign matter on the tip face; strip is not nickel (plated steel or steel strip).
Heat is going into the strip surface, not into the joint: tips too sharp or too small, pressure too low, current too high with too short a contact, strip surface dirty.
The positive cap is a thicker, domed, often harder steel part with a small flat; the negative is thin flat steel. Same settings give a cold weld on the positive.
Plated steel has higher resistance and a plating that burns off; it needs less current and more pressure, and it never peels like pure nickel.
Tip not tightened; a loose joint anywhere in the welding circuit; control board to thyristor connection loose; mains interference making the pilot lamp flicker.
Tips dirty or oxidised; current too high; pressure too low.
Current path changed; the shunt through the strip between the two tips depends on gap and width.
| Strip | Current setting | Pressure | Tip gap | Expected result |
|---|---|---|---|---|
| 0.05 mm | 20-30 | 0.5-1 kgf | 2 mm | Two small bright spots, no discolouration |
| 0.10 mm | 35-45 | 1-2 kgf | 2-3 mm | Strip tears around the spot when peeled |
| 0.15 mm | 45-60 | 2-3 kgf | 3 mm | Firm weld; slight grey ring acceptable |
| 0.20-0.30 mm | 60-85 | 3-4 kgf | 3-4 mm | Two spot pairs per tab; check for burn-through |
Current is a 00-99 setting on these machines (keep it below about 60 for normal work); weld time is calculated by the control from the current. The numbers are for Cruxweld dual-pulse machines and do not transfer to other brands. Change one thing at a time, in steps of 3-5, and peel-test.
| What you see | Check yourself | If it persists |
|---|---|---|
| No power indication | Supply; fuse (same rating only) | Call |
| Pilot lamp steady instead of flashing | Normal stand-by is a continuous flash; power-cycle | Control board not seated: call |
| Power on, no spark | Pedal stroke too short (adjust and raise pressure); current too low; tip too far from the battery (3-4 mm); pilot lamp flickering (interference: separate earthed supply) | Welding switch wiring or photoelectric switch: call |
| Pneumatic (CBS10P): no stroke or weak stroke | Air pressure; FRL filter drained; foot switch | Valve or cylinder: call |
| Unstable welds | Tips tight; secondary connections tight | Board to thyristor connection: call |
Hand-held for repair and small batches; pedal (CBS10M) for a bench operator building packs with consistent pressure set by the springs; pneumatic (CBS10P) for production, where the force is the same for every weld regardless of the operator and the cycle is faster.
Not on these machines. Copper and aluminium need far higher current and different tips; the result is sparks and no bond. Use nickel strip, or nickel-plated copper designed for resistance welding, and test it first.
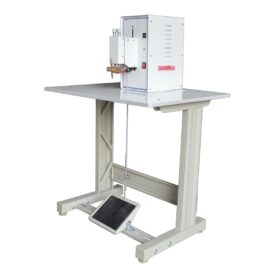 CBS10M pedal battery tab welderSpecifications →
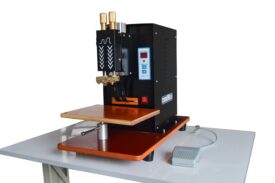 CBS10P pneumatic battery tab welderSpecifications →
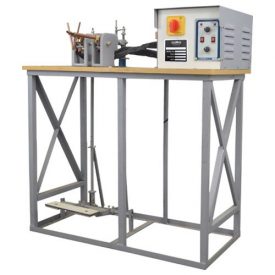 Pedal operated battery spot welderSpecifications →
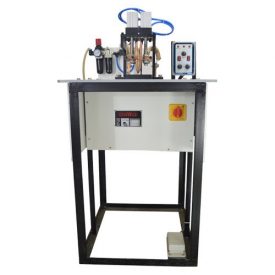 Pneumatic battery tab welding systemSpecifications →
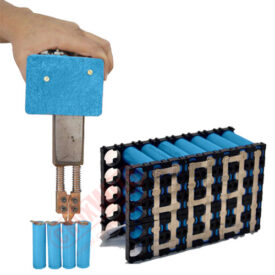 Hand operated battery tab welderSpecifications →
Open your model for its specifications; the spares page lists the consumables for it.
If the machine runs but the weld or cut is wrong, the cause is usually settings, consumables or the material. Start here:
These machines are built for nickel and nickel-alloy strip on cell casings; they are not for copper, aluminium or steel sheet above 0.3 mm. The dual-pulse control (pre-pulse to clean, main pulse to weld) and independent pressure on each electrode are what make the result repeatable; the pneumatic CBS10P adds a constant, operator-independent force.
Send a photo of the weld or cut, your machine model, consumable and plate thickness. Our technical team replies on WhatsApp with the likely causes and the next checks to make.
45+ years of welding expertise · GeM Registered OEM Manufacturer · Supported Worldwide