Troubleshooting guide › Specialised welding › Wire and rod butt welding
A wire butt weld is an upset weld: the ends are clamped, current heats them to forging temperature and the spring pushes them together, leaving a small burr. In a wire drawing shop the joint must survive the next die, so the weld, the alignment and the anneal all matter. This page is for mild steel, carbon steel, stainless, copper and aluminium wire and rod from 0.4 to 8 mm, and for upset welders on larger rod.
Reviewed by the Cruxweld technical team, October 2026. Settings are starting points to confirm on a test piece; acceptance is decided by the code or drawing the job is built to. Checks marked “call” are for our technical team.
Carbon or hard-drawn wire not annealed after welding; current too low or pressure too high (dry weld); ends not square so only part of the section fused; joint not deburred so the die catches the burr.
Too much spring pressure or too little current: the ends were pushed together before they were hot.
Spacing too large; pressure too high; ends cut at an angle so extra metal is squeezed out.
Current too high; pressure too low; ends dirty.
Wrong V-groove for the diameter; worn or dirty jaws; wire bent near the end; wires not meeting midway.
Jaws worn, dirty or oily; wrong groove; wire oxidised or coated.
Corroded contact between the copper jaws and the aluminium platens, or between the transformer lead and the moving platen.
Ends not touching; dirty ends or electrodes; spacing lever not in the weld position; thermal protection tripped.
Ends not square and clean (aluminium must be cut square); spacing too large; settings copied from steel.
| Material | Diameter range | Notes |
|---|---|---|
| Mild and stainless steel | 2-8 mm | Standard pressure barrel and lever settings for the size; low steps for thin wire, high for thick |
| Carbon and alloy steel | 2-8 mm | Lower pressure, higher current; anneal after welding |
| Aluminium | 3-6 mm | Square ends; smaller spacing |
| Copper | 2-5 mm | Clean ends; confirm by trial |
Six current steps covering 50-100 %. A smooth weld face shows the settings are right; a dry powdery face shows too much pressure or too little current.
Small differences in diameter are possible by cutting the larger wire to a short taper so the sections match at the joint; different materials (steel to copper, say) do not butt-weld reliably and the joint will not survive drawing. Ask us with the sizes and materials before planning it.
The joint was not annealed, or was annealed too hot and re-hardened. A properly annealed joint is slightly softer than the wire and draws through every die.
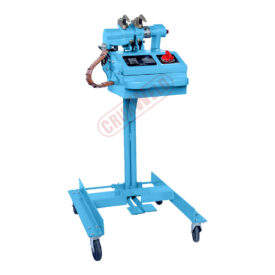 Wire butt welderSpecifications →
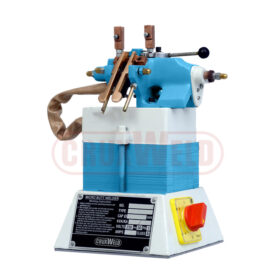 Micro wire butt welder CRB3KSpecifications →
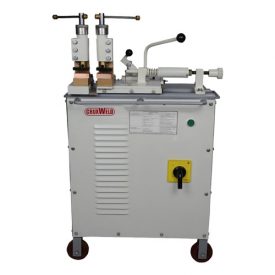 Rod butt welderSpecifications →
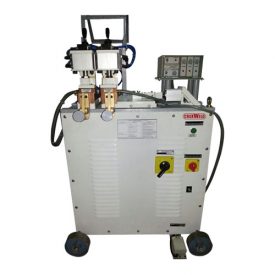 Rod butt welder, pneumaticSpecifications →
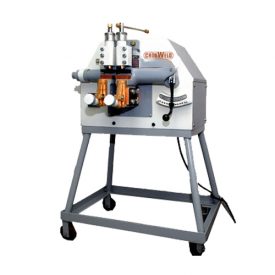 Upset butt welderSpecifications →
Open your model for its specifications; the spares page lists the consumables for it.
If the machine runs but the weld or cut is wrong, the cause is usually settings, consumables or the material. Start here:
The machine provides the current steps, a spring upset set by the pressure barrel and annealing jaws; the result depends on square, clean ends and the right spacing. A machine that needs a higher step over time for the same wire has dirty or corroded contacts between the copper jaws and the platens.
Send a photo of the weld or cut, your machine model, consumable and plate thickness. Our technical team replies on WhatsApp with the likely causes and the next checks to make.
45+ years of welding expertise · GeM Registered OEM Manufacturer · Supported Worldwide