Troubleshooting guide › Fix it yourself, by machine › Welding carriages
A welding carriage is a motor, a control box, a magnet or rails, and a torch holder. The things that stop it are spatter on the wheels, a cable that has been pulled, a fuse, and a torch mount that worked loose. The things that spoil its weld are set-up: torch position, speed, guide rollers. This page covers both, for trackless fillet carriages, oscillating carriages, rail trolleys and pipe carriages.
Reviewed by the Cruxweld technical team, October 2026. Settings are starting points to confirm on a test piece; acceptance is decided by the code or drawing the job is built to. Checks marked “call” are for our technical team.
| What you see | Check yourself | If it persists |
|---|---|---|
| Control box lamp does not light | Control cable connector contact; fuse; mains supply | Replace the control cable; call |
| Start switch does nothing when welding should begin | Welding wire end has slag (clean it); drive motor; weld / no-weld switch | Motor or switch: call |
| Torch cannot be aligned to the seam | Torch fixing mount not tightened; slide set screws | Tighten; adjust the three set screws on the slide |
| X-Y slide stiff | Deposits on the slide; dry | Clean; a drop of light oil |
| Carriage stops during automatic welding | Obstacles on the path; deposits on the guide wheel or tyres; cable pulled | Clear; clean; support |
| Carriage does not follow the weld line | Guide wheel position not fixed; rollers not both touching the vertical plate; wheels not all on the plate (adjust the external support) | Readjust and lock |
| Travel uneven | Spatter on wheels or plate; drive chain loose (adjust with the middle set screw); wheels not fully on the plate | Gearbox: call |
| Arc does not stop when stop is pressed | Welding-off switch; the welding machine is in trigger-hold mode (4T / self-locking trigger): set it to 2T | Switch: call. Never bypass a machine protection |
| Oscillator does not swing or swing is irregular | Swing amplitude knob at 0 (raise it); oscillator aviation plug loose or dirty; slag inside the oscillator gearbox (clean and re-grease) | Oscillator motor: call |
| Weld not on the target line with the waver | Left / right redress knob to move the swing centre; torch fixture | Call |
| Travel motor runs at one speed | Speed potentiometer | Replace the potentiometer |
| Wheel or motor hot (above 70 degrees C) | Overload or drag; spatter in bearings | Stop and cool; find the drag; call |
| Carriage slides off the plate | Plate not magnetic (stainless, aluminium) or too thin; magnet face dirty | Use a rail trolley for non-magnetic work |
| Setting | Typical |
|---|---|
| Torch angle between the plates (fillet) | 45 degrees, plus or minus 10 |
| Lead (travel) angle | 0-10 degrees drag; up to 25 degrees on the Dynex |
| Tip to work | 10-15 mm below 200 A; 15-20 mm at 200-350 A; about 10 times the wire diameter |
| Guide rollers | Both touching, front slightly behind the rear |
| Oscillator (Dynex 5M) | Amplitude knob 0-99 = 0-30 degrees; swing speed 0-99; dwell 0-4 s each side; change the weave form only in Stop |
| Travel speed | From the leg-size table on the automation page; 35-45 cm/min for a 6 mm leg with 1.2 mm wire |
A tack or a bead on the path. Grind tacks flush before the run; the carriage will not climb them.
If the machine has a remote start or trigger input and the feeder can sit near the seam, yes. Send us the model; we check the connection before supply.
The two torches are set independently: check each torch angle, tip-to-work and aim on the X-Y slides, and that each has its own feeder and power source set to the same current and voltage. A shared feeder cannot run two torches; two sources on one earth need the clamps on the same plate.
Set the stop angle a few degrees past the start so the end overlaps with crater fill on, and reduce the current for the last segment if the machine allows; a start-end mismatch means the rail or the drive slipped: check the rail joint, the clutch and that the cable can follow a full turn without wrapping tight.
The magnet needs clean carbon steel at least about 5 mm thick for full holding force; paint and scale reduce it, and stainless or aluminium give none. On thin or non-magnetic plate use a rail-guided trolley, and grind the path under the magnet on painted plate.
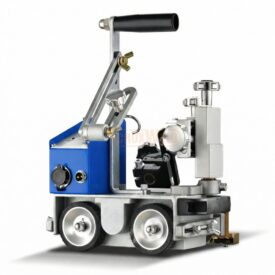 WeldyFi trackless fillet carriageSpecifications →
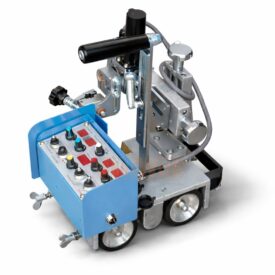 Dynex 5M with waverSpecifications →
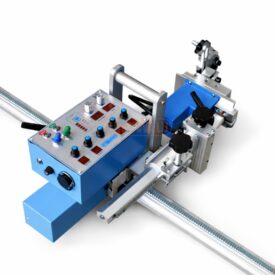 Magnetic oscillating carriageSpecifications →
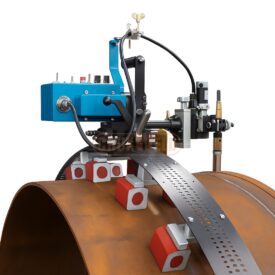 Automated oscillation carriageSpecifications →
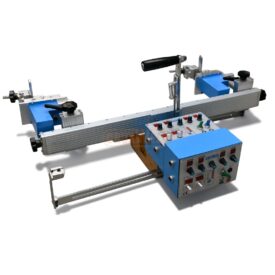 DynaTwin 200M dual torchSpecifications →
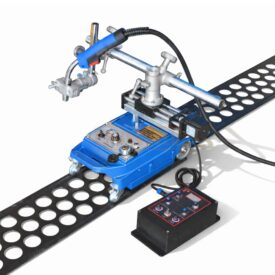 DynaMove 45KSpecifications →
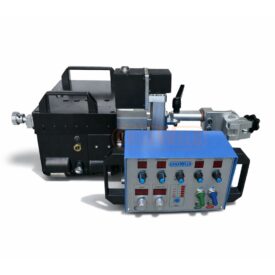 WeldOrbit 360Specifications →
Open your model for its specifications; the spares page lists the consumables for it.
If the machine runs but the weld or cut is wrong, the cause is usually settings, consumables or the material. Start here:
A carriage needs a magnetic steel plate (holding force about 35 kg on the trackless models), a welding machine with a remote start input, and a feeder near the seam. If the carriage keeps stopping, look at the plate and the cables before the motor.
Send a photo of the weld or cut, your machine model, consumable and plate thickness. Our technical team replies on WhatsApp with the likely causes and the next checks to make.
45+ years of welding expertise · GeM Registered OEM Manufacturer · Supported Worldwide